Create your first guide in 3 steps
From an empty screen to a link you can send, about five minutes.
Every mikum.me guide is the walk from the street to your actual door, told one photo at a time.
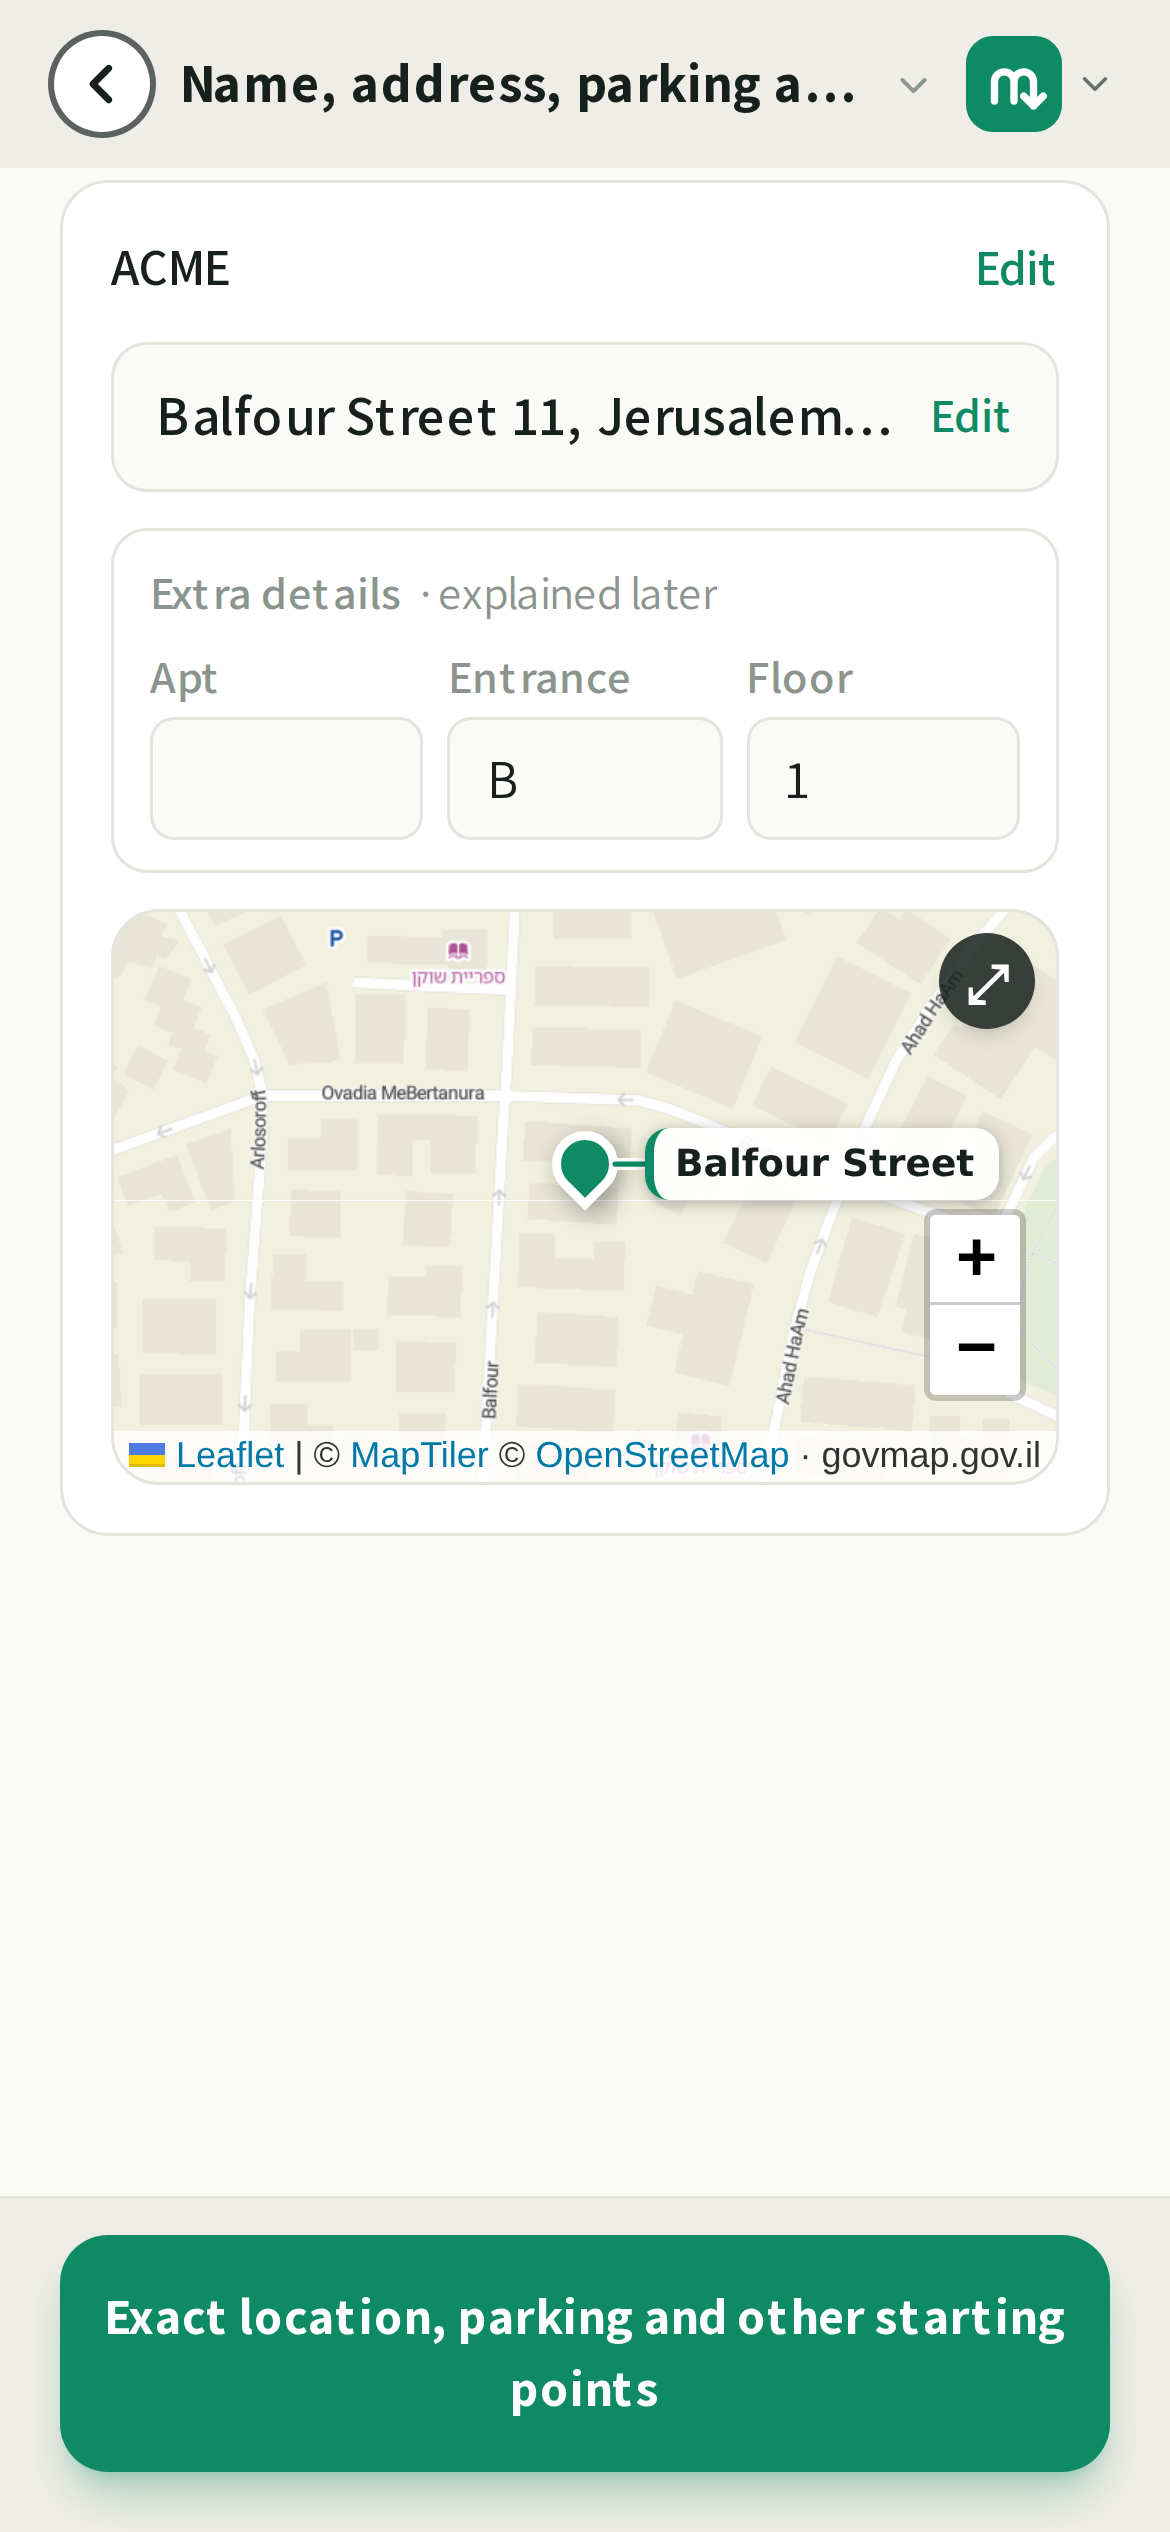
You name the place, drop a pin on the exact entrance, and add a photo for each decision point along the way: the turn, the gate, the stairwell, the door. Draw an arrow on each and write a short line under it.
💡Take the walk once with your phone. Photograph anything you would point at if you were standing next to your visitor.
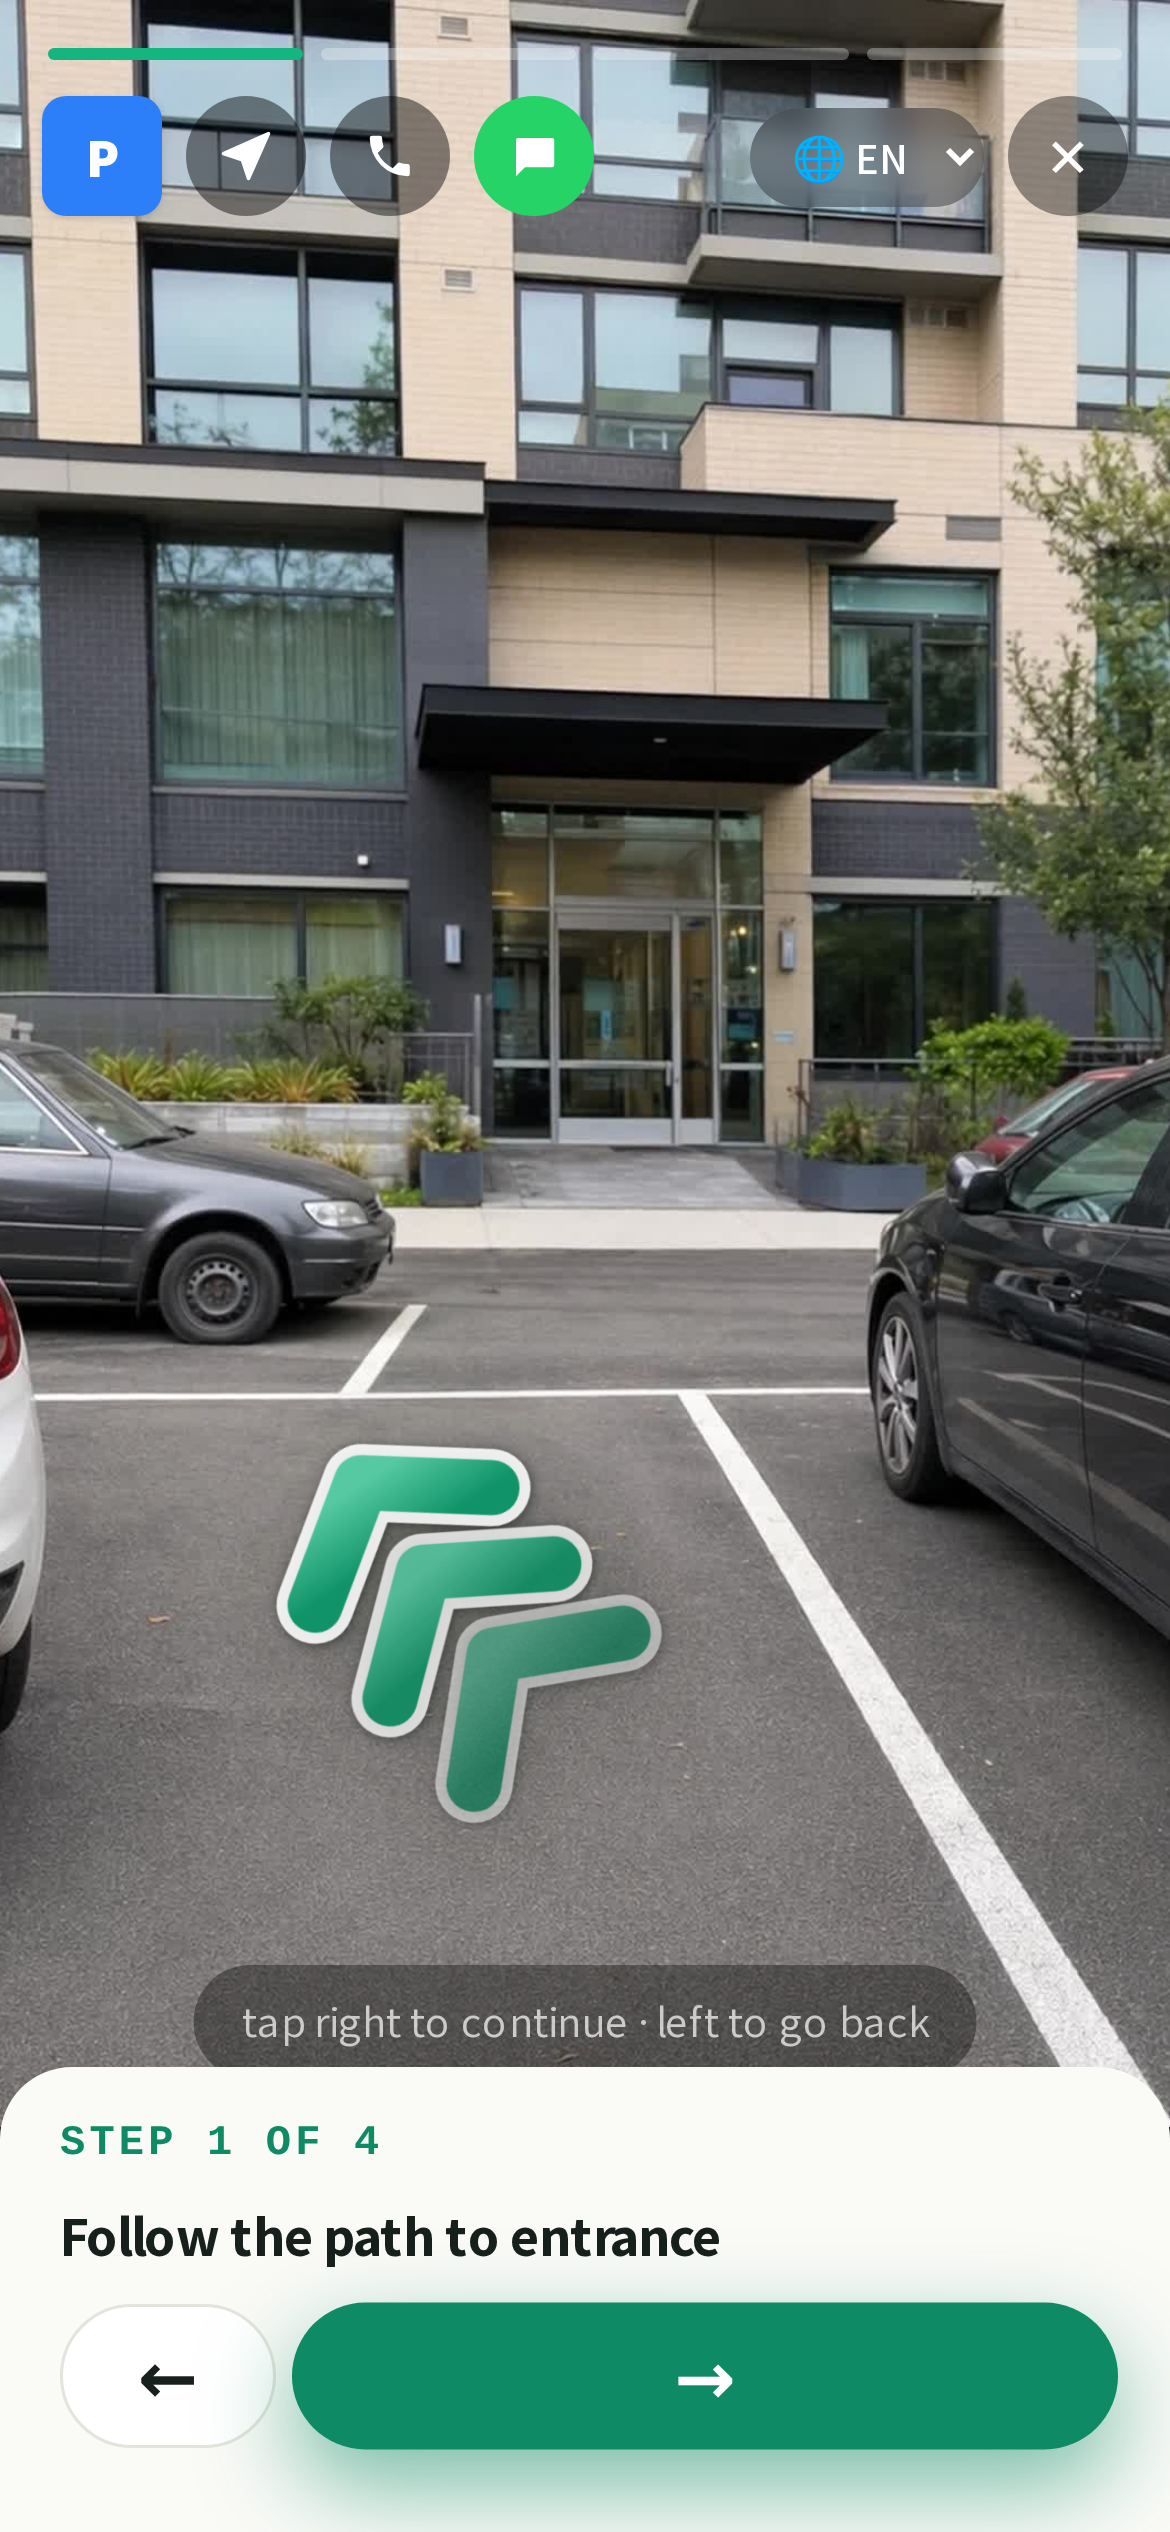
Your visitor opens your link, taps once to navigate to the street address, then follows your photos one at a time, each drawn arrow pointing the way in.
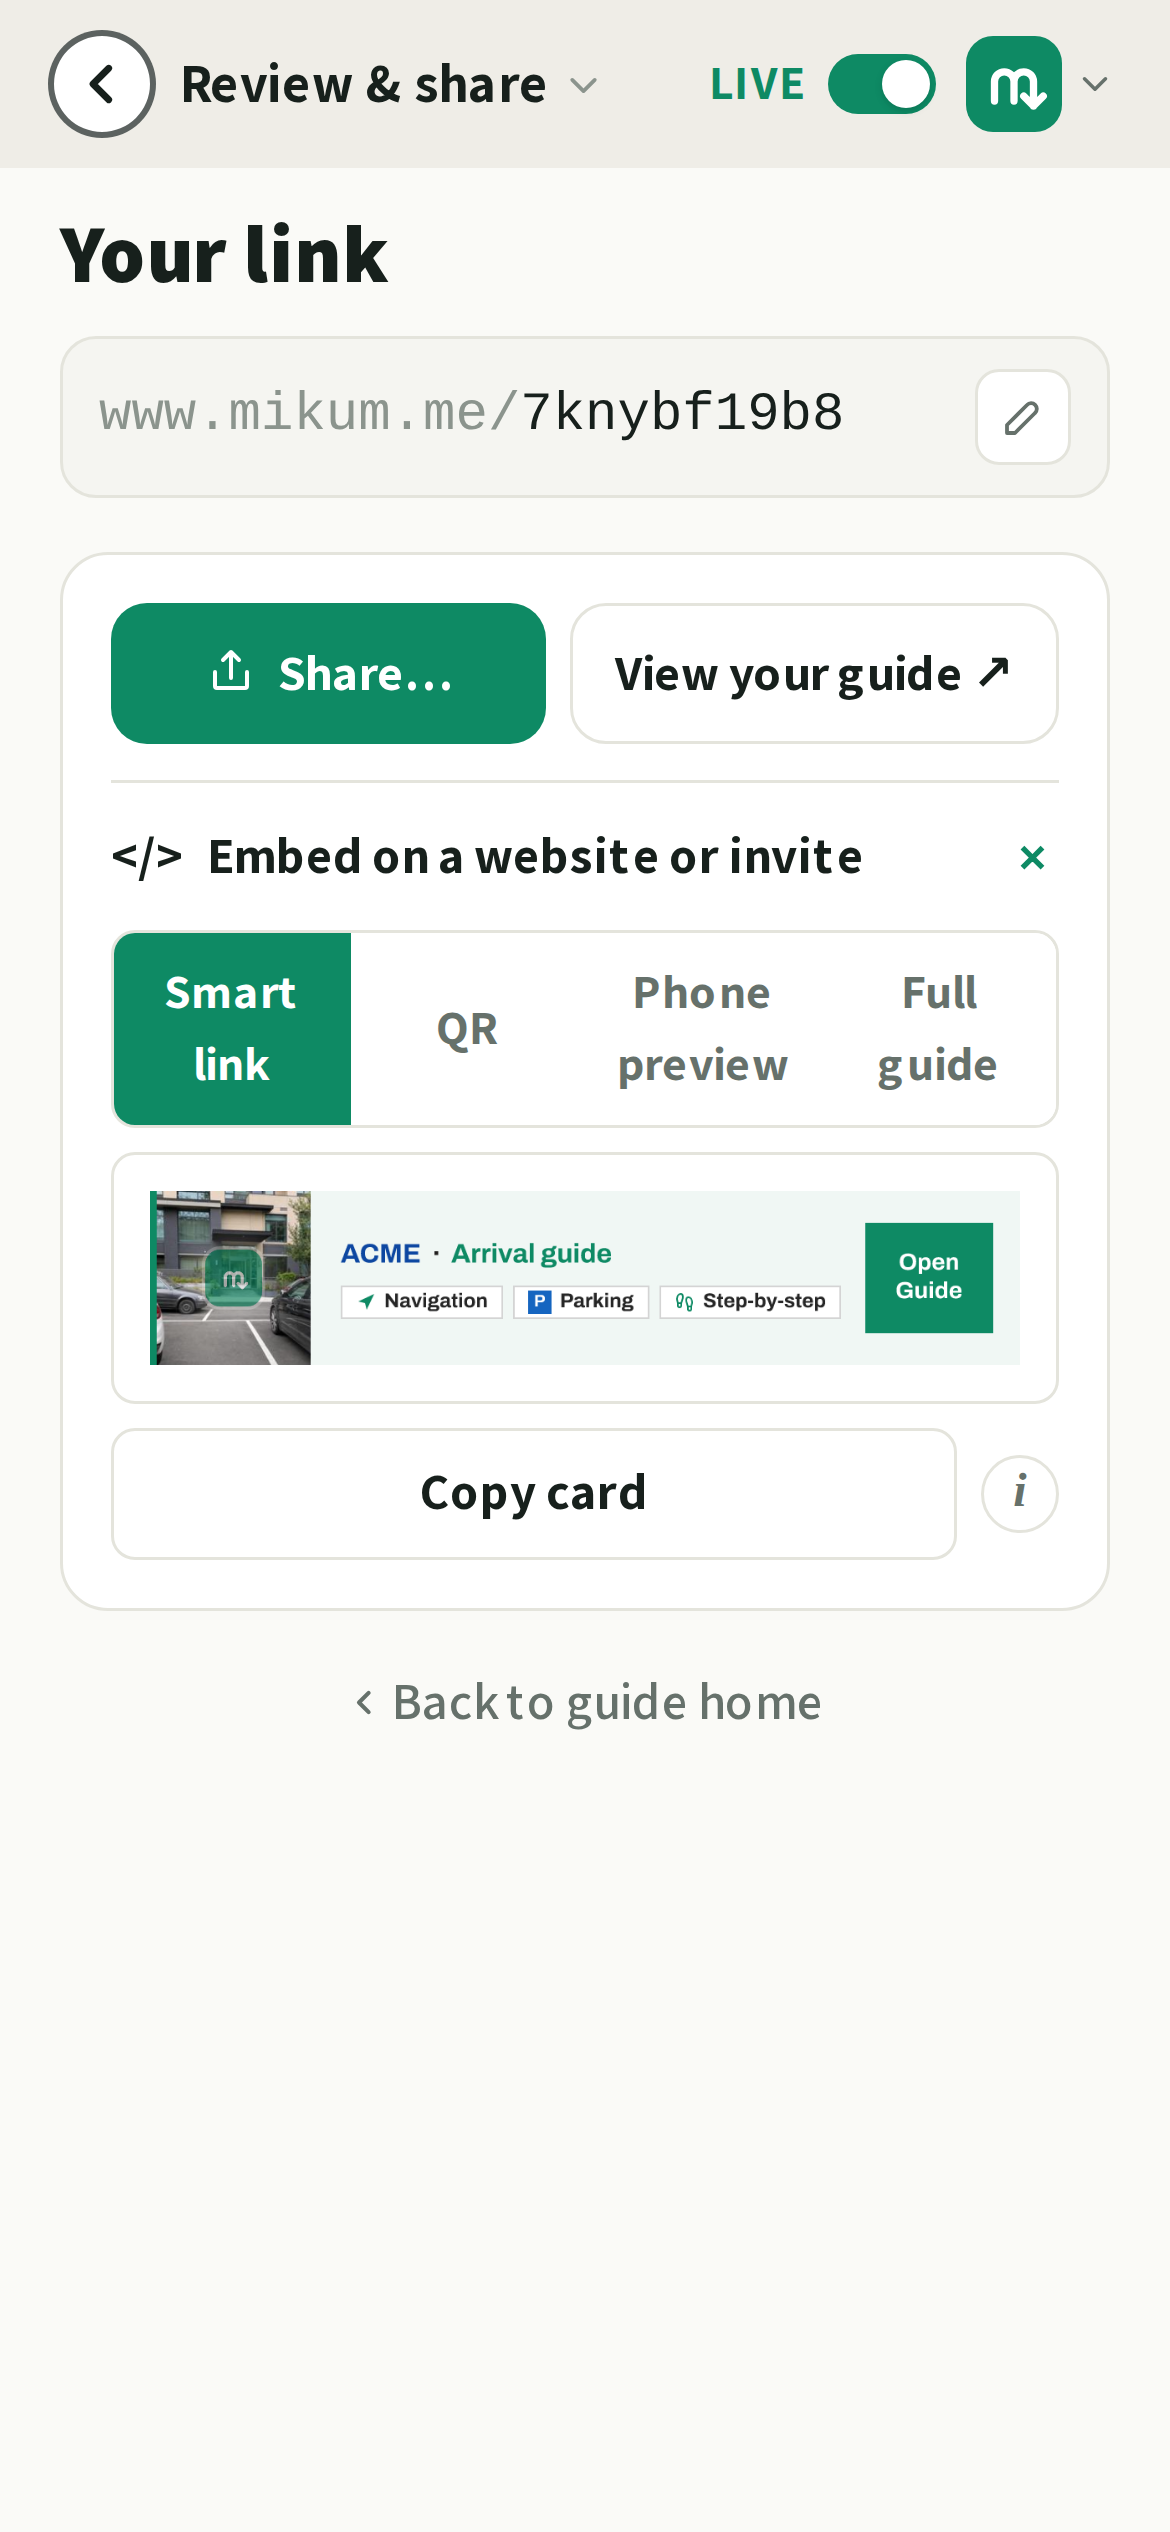
When you're ready, tap Review & share, choose your link, and publish. You get a mikum.me/your-link address you can text, add to a booking confirmation, or print on a sticker. You can keep editing after publishing. Changes go live immediately, and anyone with the link always sees the current version.
Your name
Before any of that, the wizard asks what to call you. One field, a couple of seconds, and it is saved to your account rather than to the guide, and visitors never see it. It is simply how mikum.me greets you from then on. You can skip it and add it any time under Account → Your details.
Last updated Aug 15, 2026