Adding your contact details
A one-tap way for a lost visitor to reach you.
Even a perfect guide has the odd visitor who gets turned around. A contact button lets them reach you in one tap instead of guessing.
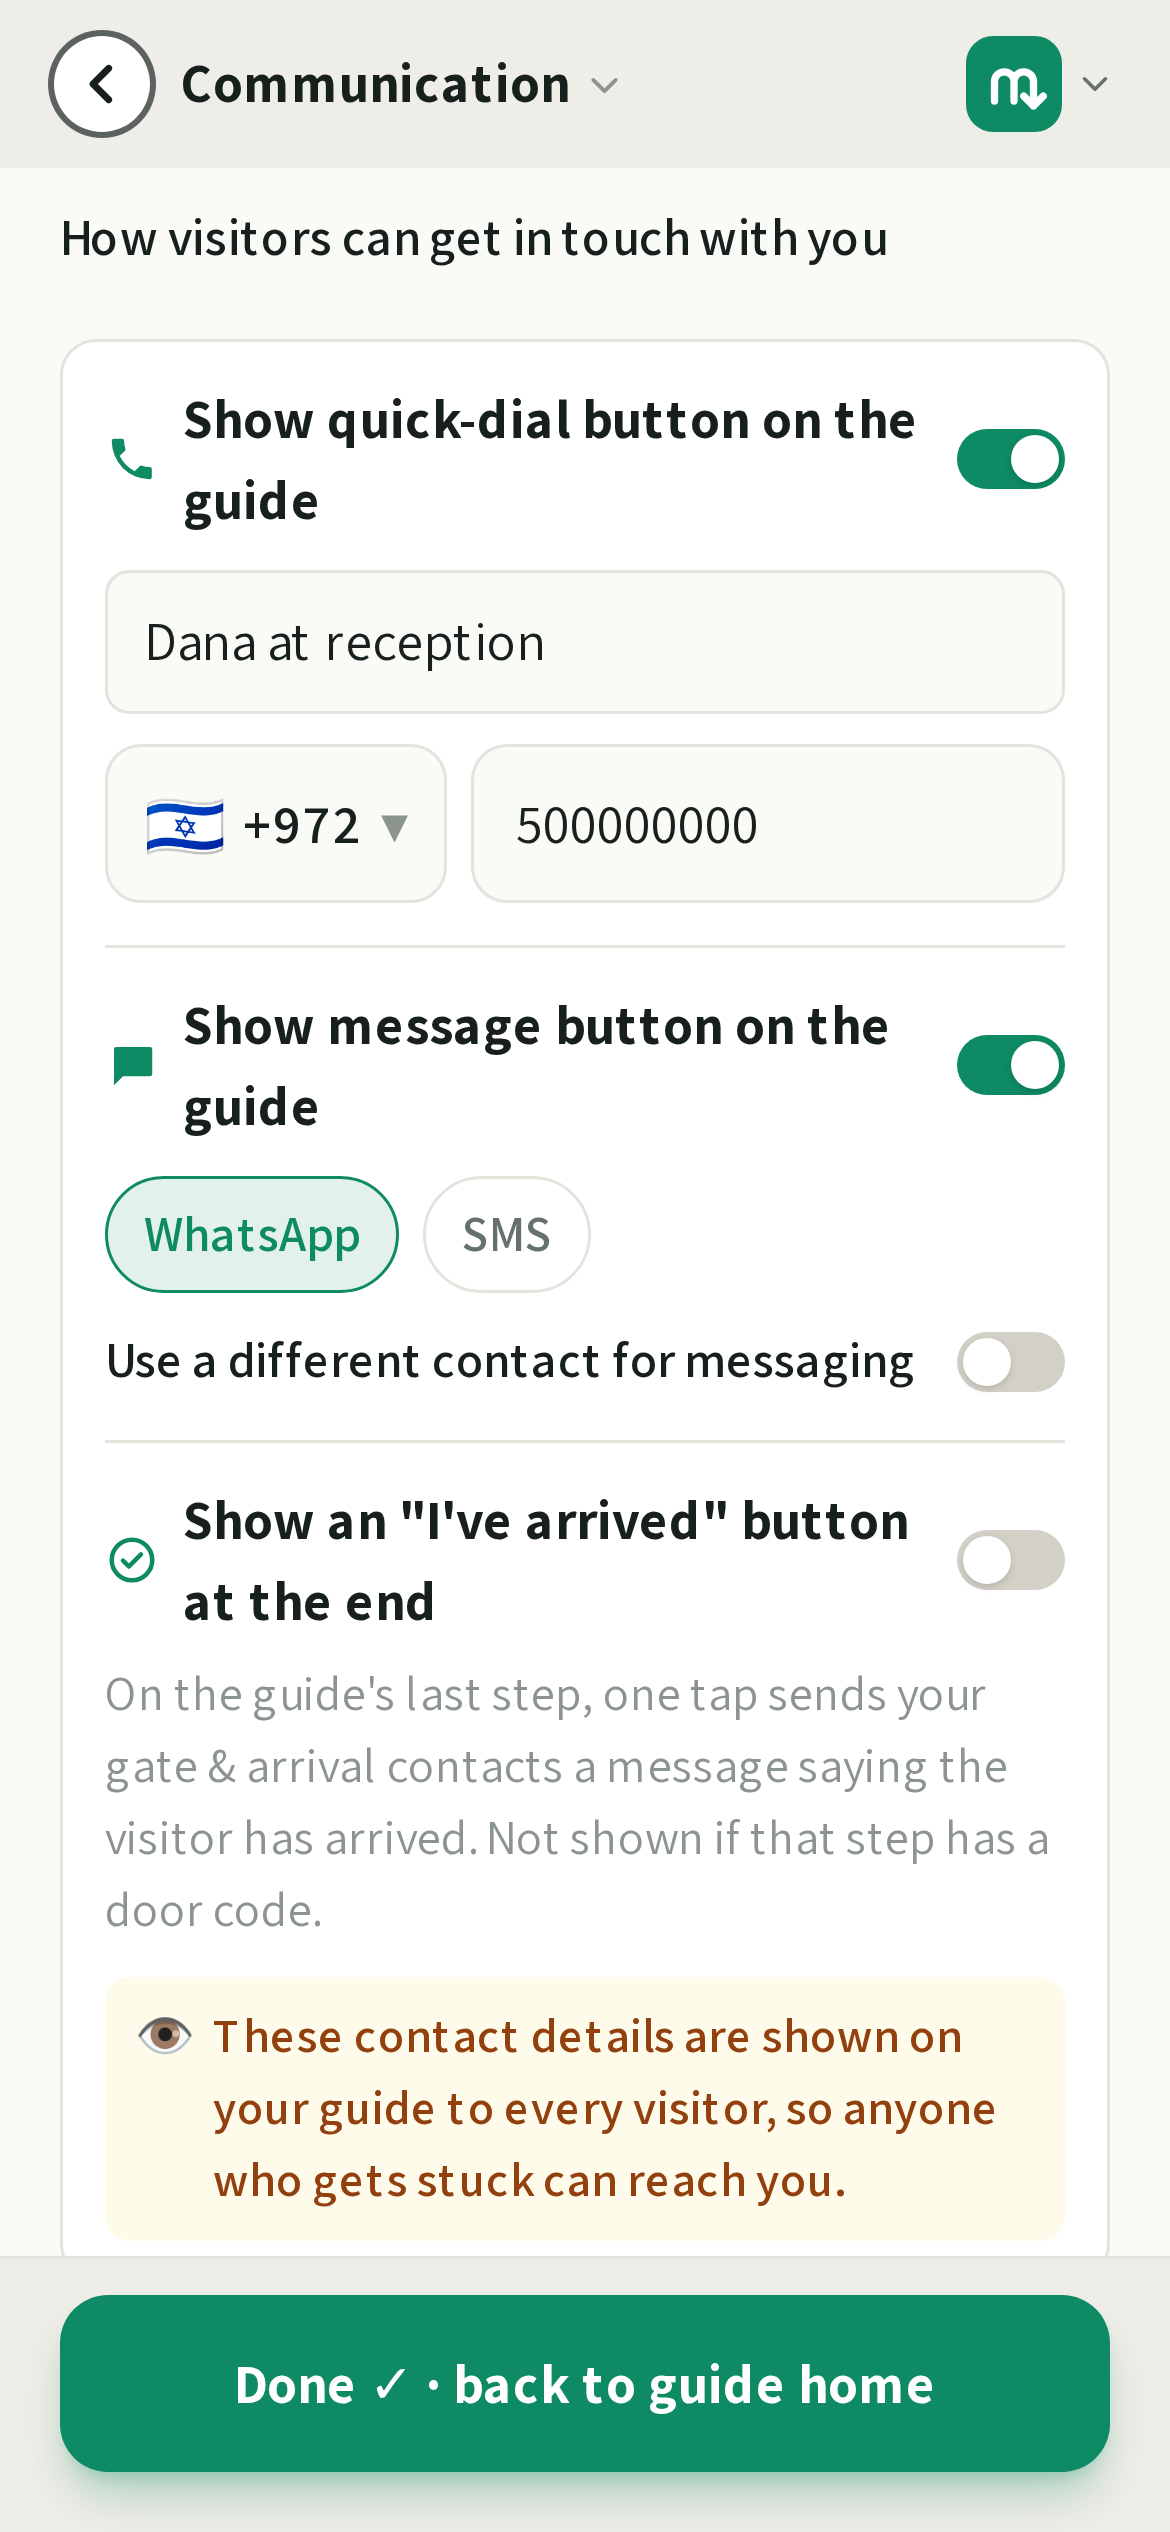
Set it up
- 1On the Communication methods on the guide step, turn on Show quick-dial button on the guide and add a name (usually yours or the business) and a phone number. Both switches start off, so a new guide shows no contact buttons until you turn one on.
- 2For messages, turn on Show message button on the guide and pick WhatsApp or SMS. Leave that switch off if you would rather only be called.
- 3That is it: a contact button appears on your published guide.
💡This is the number a visitor reaches you on. Gate approvals, arrival messages and ETA updates go somewhere else — the notification contacts on the Gates & ETA screen — so a gate that opens after your approval is set up there, not here.
Good to know
Your number is only shown behind the contact button on the guide. It is not printed in the page text. Leave both switches off and no contact button appears at all, which is fine if you would rather not be reached mid-visit.
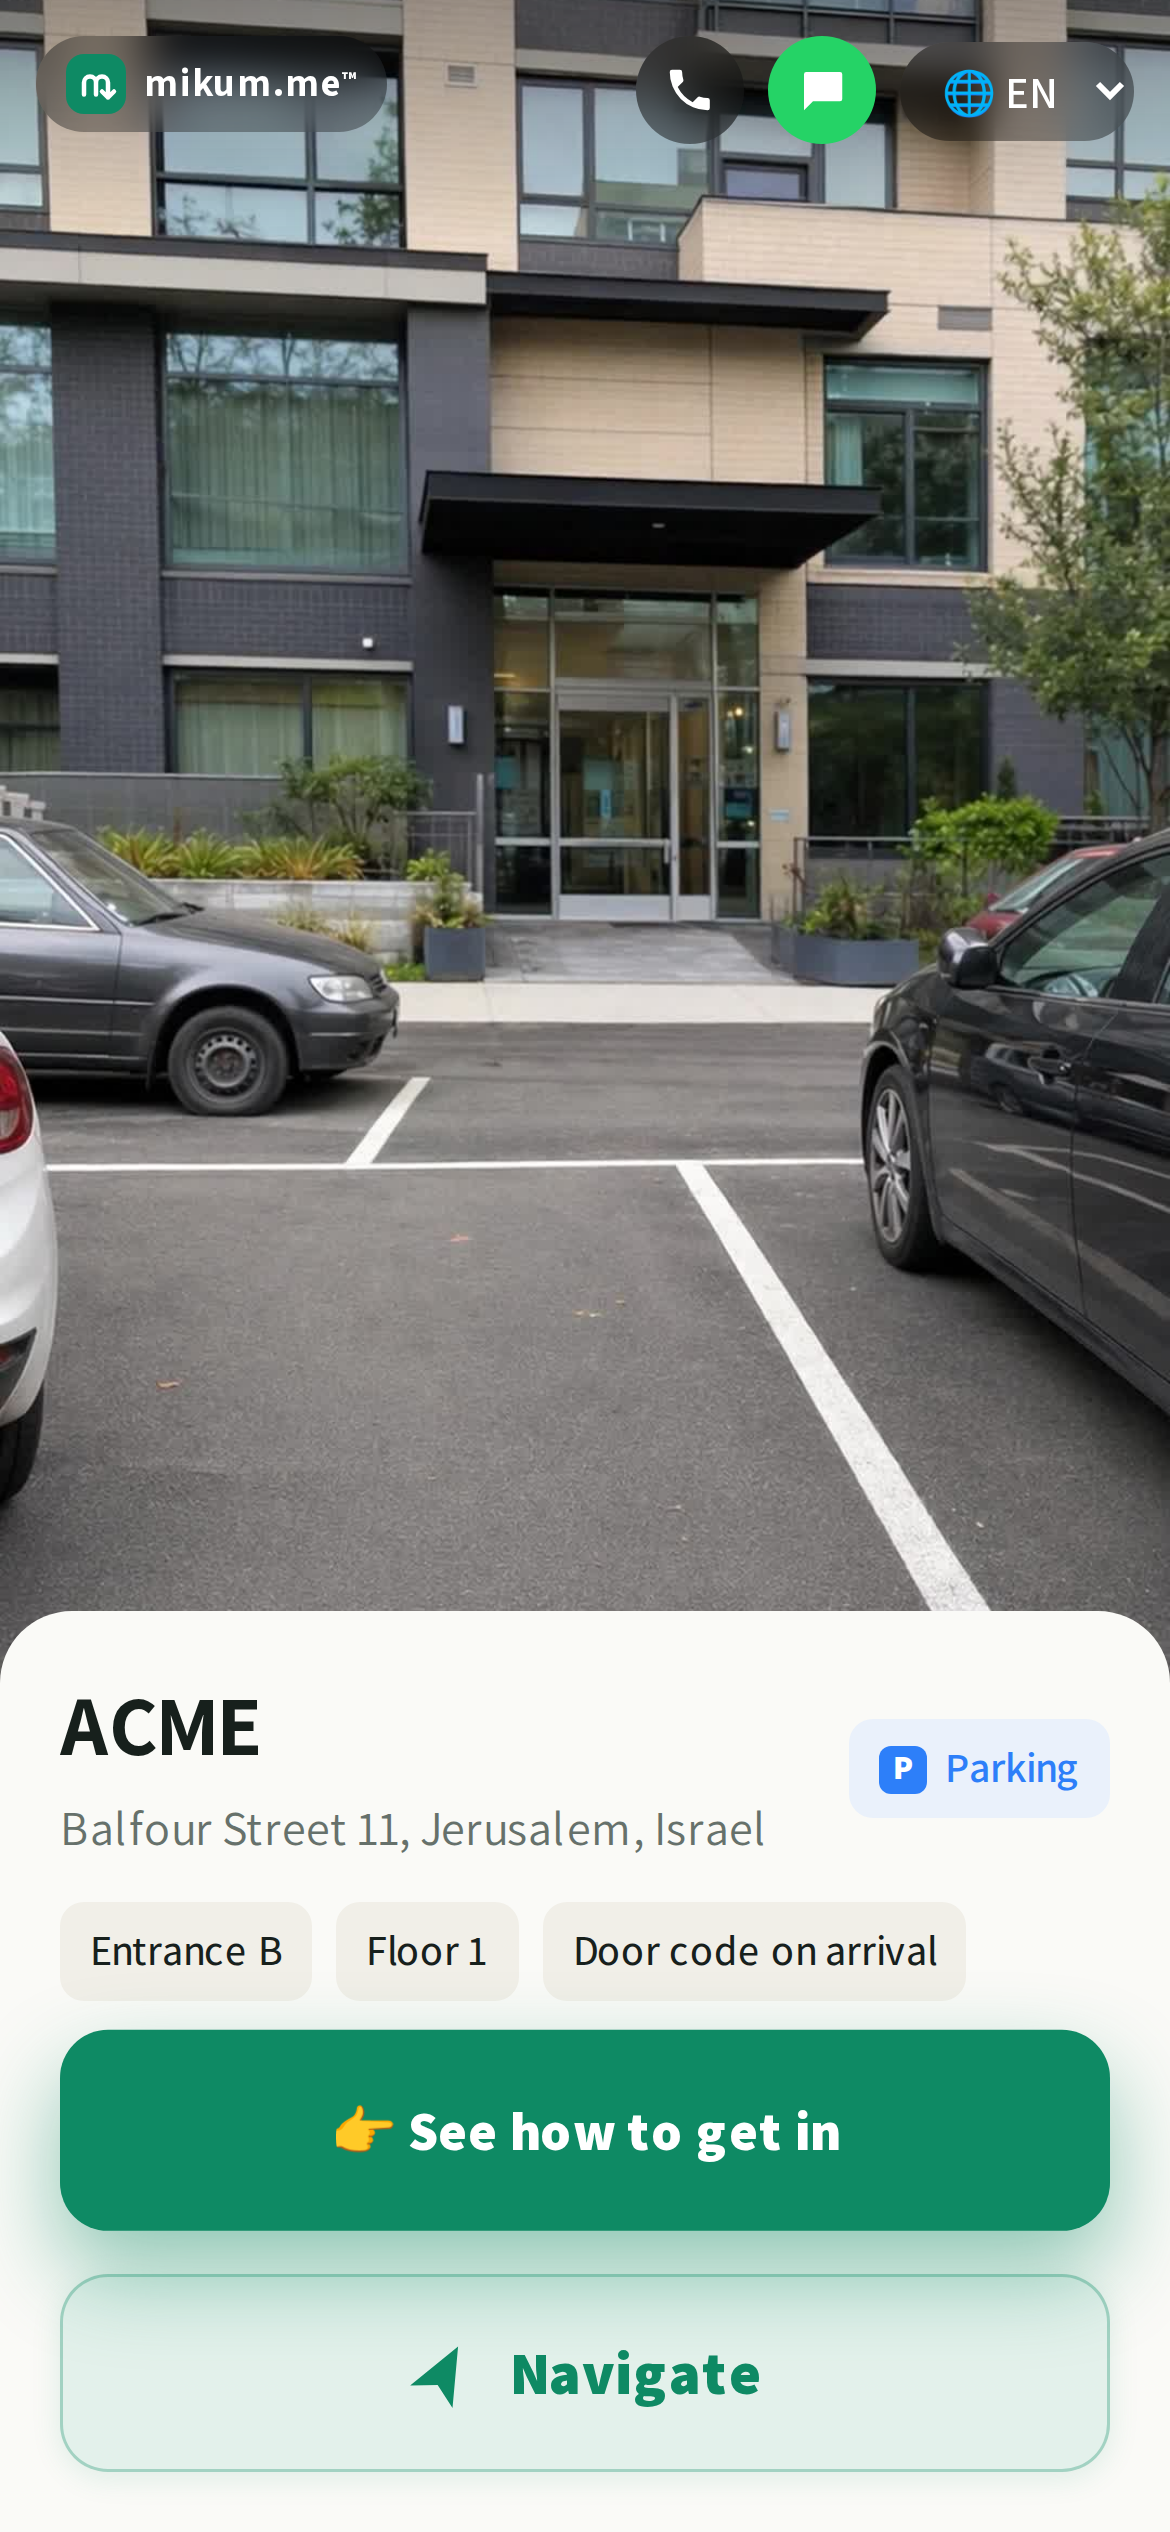
One number, or two
By default the message button uses the same number you gave for calls, so most people fill in one number and are done. If messages should go somewhere else (a work WhatsApp, the front desk rather than your mobile) turn on Use a different contact for messaging and add that number underneath. Leave it off and the two buttons always point at the same phone. The choice only comes up while quick-dial is on. With quick-dial off, the message button uses the number you add under it.
Last updated Sep 2, 2026